Xerox WorkCentre 7765
Print Driver Installation Instructions For Mac OS X 10.8.x or higher
Printing to Winston from Mac OS X 10.6.x or higher
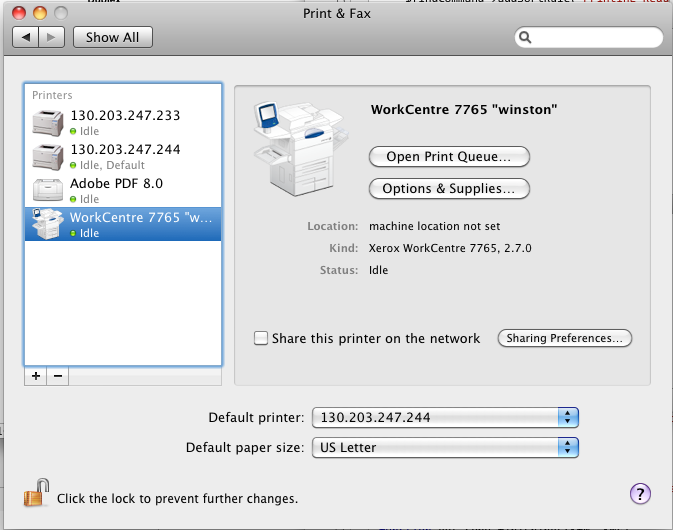
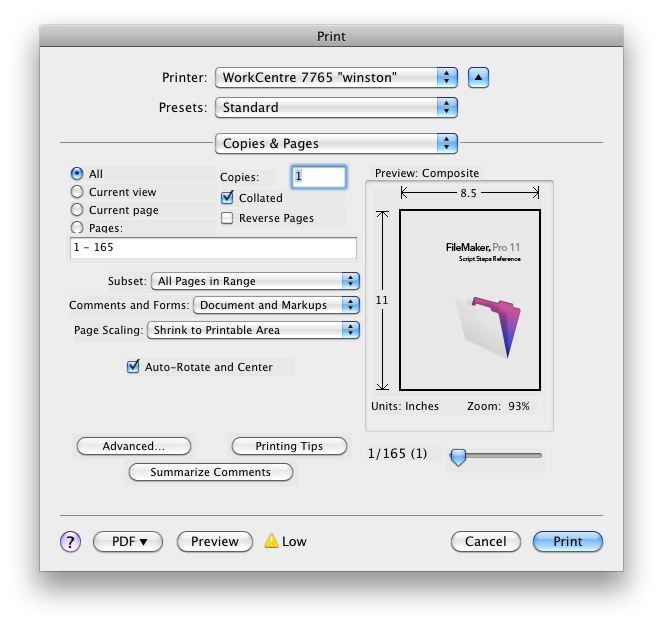
From the Print dialog, choose WorkCentre 7765 “winston” from the list of printers:
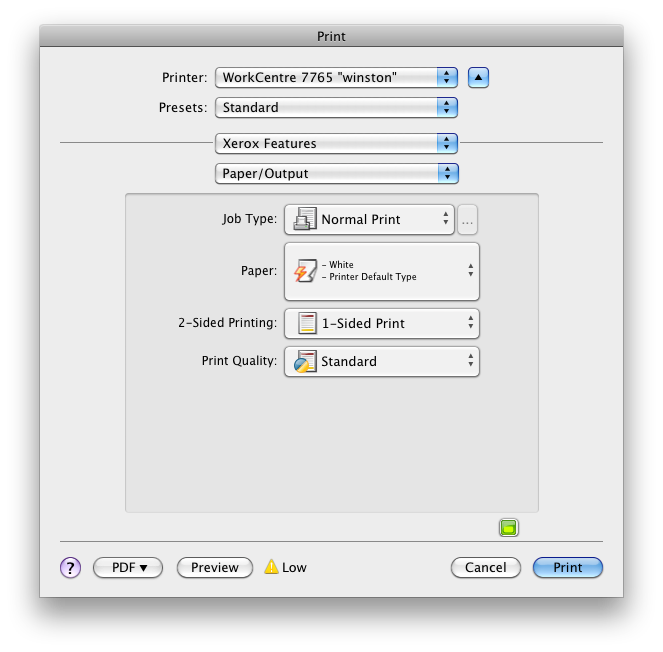
In the screen above, click the “Copies & Pages” list and choose “Xerox Features” and the “Paper & Output” settings will be shown to choose paper type and duplexing options:
In the screen above, click “Paper & Output and select “Color Options”. Here you may force Black & White printing. This is necessary if you are using your black & white copier account.

In the screen above, click “Color Options” and select “Advanced” from the list then click the “Accounting” shown below:
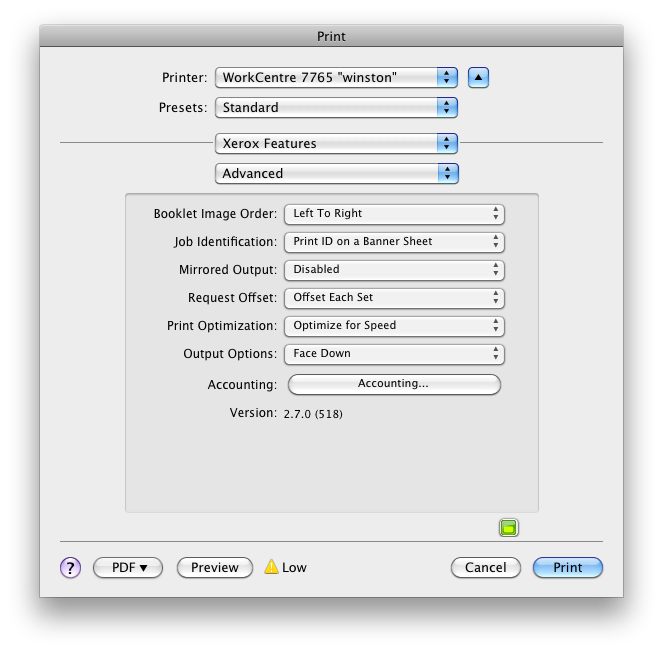
For the “Accounting System” choose “Xerox Standard Accounting or Auditron”. Uncheck “Mask User ID” and “Mask Account ID”. Enter your copier account (either black and white account or color account) for “Default User ID”. You can also set your group account here by selecting “Group Account” for “Default Account Type” and entering your group account number for “Default Account ID”, or leave it as the default group which we've established on the copier. Usually, your research group account is your default group. Click “Ok” when done.

At this point it is useful to save the settings as a preset. Click “Save As…” from the “Presets” list shown in the print dialog and choose an appropriate name (e.g. Winston B&W). It is useful to save one preset for your black & white account and a separate preset for your color account. In your black & white preset, be sure to force black & white printing in the Xerox Color Options panel as shown above. Use “Automatic Color” for a color preset. The next time you print to winston, after choosing winston from the printer menu, choose the appropriate preset. If you do not save a preset, you'll need to reset all the above settings each time you print to winston.
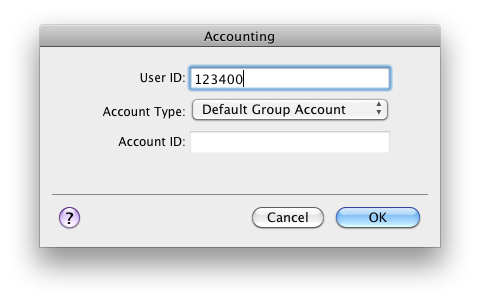
When you press the print button, you will have the option to change your Copier account number or Group Account. This is the appropriate time to select a different group. For example, if you are printing teaching materials, for “Account Type” choose “Group Account” and then enter the Teaching group account code in the “Account ID” field.